Welcome to this guide on laser cutting with a table! If you’re new to laser cutting, the process can seem quite daunting. But fear not! This guide will share all of the essential tips and tricks for laser cutting with a table. You’ll learn about the importance of autofocus, proper ventilation, and troubleshooting errors so you can maximize the efficiency of your laser cutting process. With the knowledge from this guide, you’ll be well on your way to mastering laser cutting with a table. Let’s get started!
Preparing for a Laser Cutting Project
Steps for creating a proper CAD drawing
When starting a laser cutting project, one of the most important things to consider is creating an efficient and accurate Computer-Aided Design (CAD) drawing. For anyone new to laser cutting, creating a CAD drawing can be a daunting experience. With a few basic tips and tricks, however, you’ll be prepared to create a proper CAD drawing for your laser cutting project.
Choosing a material that is compatible with a laser cutter
When it comes to laser cutting with a table, one of the first steps is to select the right material for the job. Choosing a material that is compatible with a laser cutter is critical for a successful laser cutting project. When selecting a material for laser cutting, the most important thing to consider is whether it is safe to use with a laser cutter.
Some materials can be hazardous when used with a laser cutting table, so it is important to do your research before selecting a material. Another important factor to consider is the melting point of the material.
Tips for designing laser cut patterns
When it comes to laser cutting with a table, there are many important tips and tricks that one must understand to create a successful laser cutting project. First, it is important to ensure you properly prepare the table before starting your laser cutting project.
- Plan Ahead: Before starting a laser cutting project, it is important to do your research to understand the capabilities and limitations of the laser cutter. Take time to plan out the size and shape of the project and the details of the design. Also consider the types of materials you will be using and the amount of time it will take to complete the project.
- Create Detailed Designs: Make sure to create detailed sketches or designs for your laser cutting projects. This will help ensure that the laser cutter precisely follows the desired pattern and produces high quality results.
- Test the Design Before Cutting: It is important to test the design before actually using the laser cutter. Print out a copy of the design or use a computer simulation to see how the design will look after it is cut.
- Use the Appropriate Material: Different materials react differently when exposed to the laser cutting process. Use only materials that can safely be used with your laser cutter.
- Know Your Table: Familiarize yourself with the size and capabilities of your laser cutter’s table, as this will help determine the size and shape of the final product. Also make sure to clear any debris from the table before beginning cutting.

Setting Up a Laser Cutting Table
Types of laser cutting tables
table When it comes to laser cutting on a table, there is a variety of laser cutting table types that can be used for different needs and applications. Laser cutting tables come in many forms, ranging from desktop and mobile models to larger production tables. One of the most popular types of laser cutting tables is the engraving table.
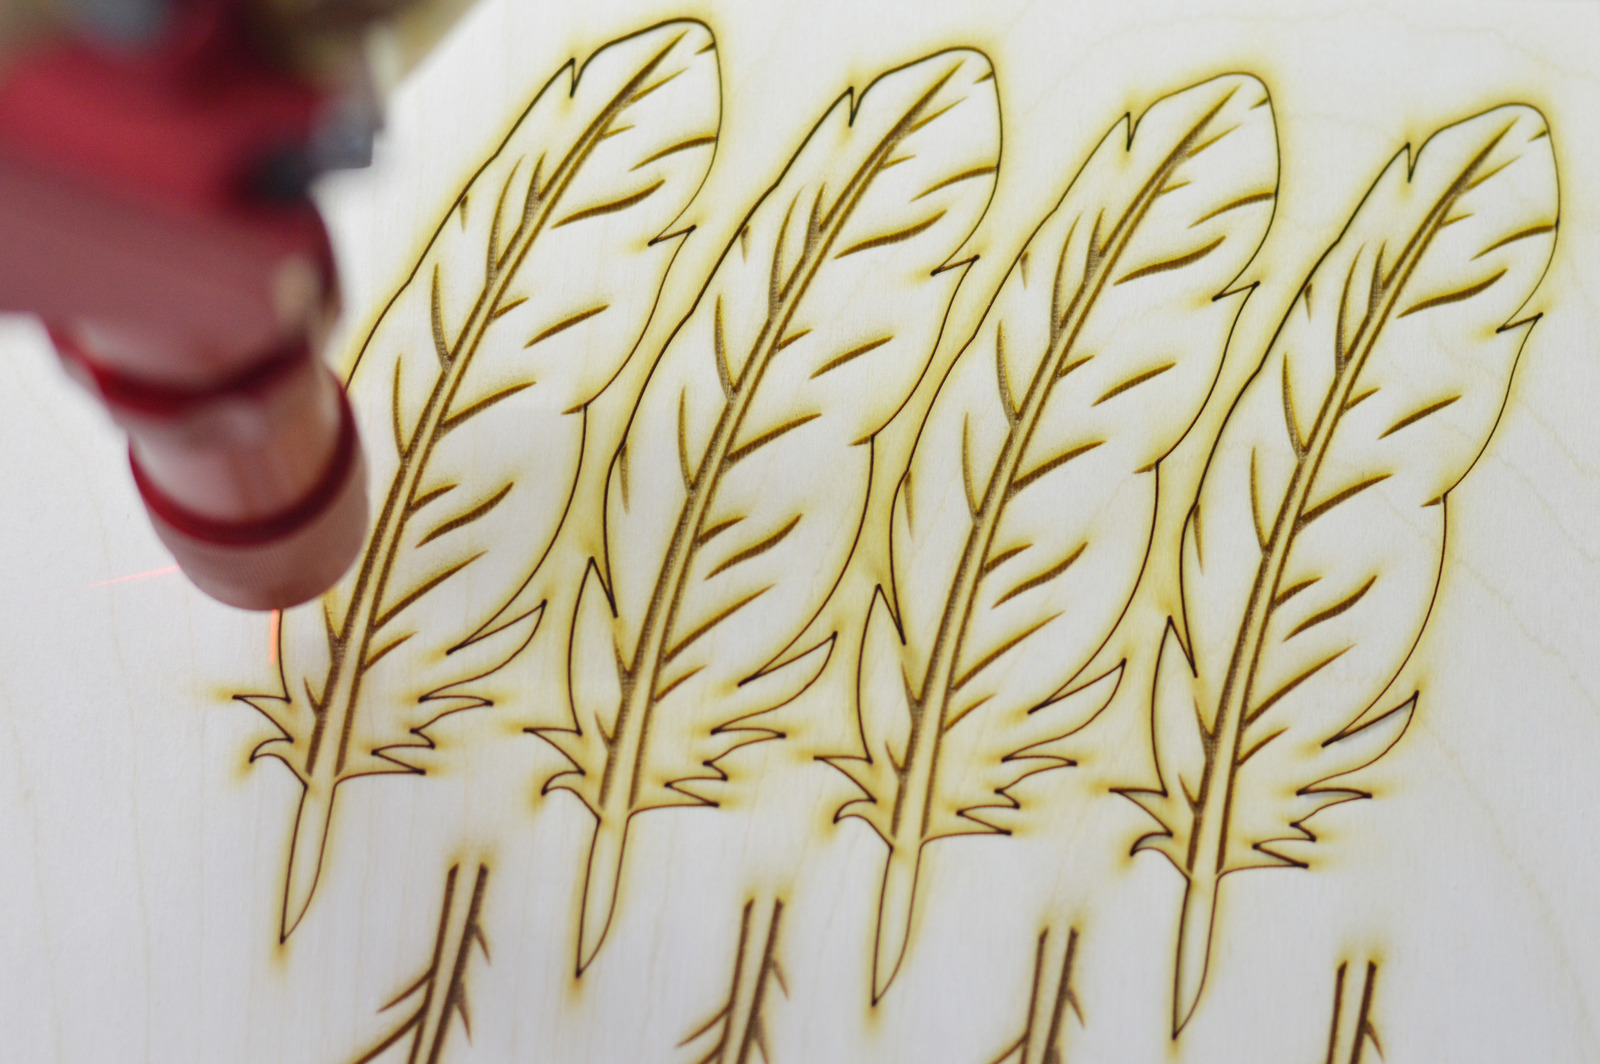
Typically, this type of table is set up specifically for engraving or marking on wood, plastics, metal, glass and other materials. The tables usually feature an integrated laser engraver with a laser head that moves on a gantry system, allowing for precise engraving or cutting.
Setting up the table
Setting up a laser cutting table can be a challenge, but with the right tips and tricks, it’s a manageable job. Starting with the most important step, make sure to firmly secure the table to an appropriate working surface. This will help provide stability during the cutting process and increase the accuracy of the finished product.
When setting up the table, make sure that all the components are properly placed and secured, including the adjustable height of the laser head. Additionally, double check the power source for the table as you do not want to risk a system failure during the process.
Selecting the right laser lens
table Selecting the right laser lens is an important part of laser cutting with a table. The correct lens not only impacts the quality of the cut, but it also affects the speed of the cut. Choosing the right lens will ensure that your laser cutting table operates at maximum efficiency.
When choosing a lens, there are several factors to consider. One of the most important is power. Higher powered lenses are better suited for thicker or multiple layers of material.
A lower powered lens is better suited for thinner materials or materials that don’t require a deep cut. The size of the lens also matters.
Tips for Laser Cutting with a Table
Strategies for selecting the right power/speed settings
table When laser cutting with a table, selecting the right power/speed settings can make all the difference in the quality of the finished product. Power and speed settings can vary depending on the type of material being cut and the desired end result. A good rule of thumb is to start out by setting the power and speed to the middle range and test out a small sample before attempting a larger project.
Here are some additional tips and tricks that can help you get the best results when laser cutting with a table.
Techniques for positioning the material
Positioning the material correctly is key to successful laser cutting with a table. To begin, it’s important to make sure both the material and the table are securely clamped into position, not only for the laser cutting process but for safety purposes as well. Additionally, great care must be taken when positioning the material, as it needs to be perfectly aligned and on axis for accurate cuts.
- Ensure that the material being cut is securely and firmly mounted to the cutting table, with appropriate clamps and/or weights.
- Use the proper cutting settings for each material being cut. This includes both the material settings, such as thickness and power levels, as well as the cutting speed.
- Use the right focal length lance and lenses when cutting an intricate shape. Utilizing a combination of lenses may be necessary to optimize the cutting result.
- Monitor the process in real time and adjust the settings and position of the material during the cutting process if needed.
- Don’t forget safety! Ensure that appropriate eye protection and other safety gear is utilized when cutting. Additionally, confirm that the cutting table is free of debris, obstructions, and other obstacles to ensure the safety of personnel.
Tips for optimizing a laser cut design
When it comes to laser cutting and optimizing the design process, there are a few tips and tricks to keep in mind. When laser cutting with a table, it is important to ensure that the surface you are working on is even and flat. This will help to minimize the chances of the laser cutting along an uneven path.
- Keep complexity to a minimum – the simpler the design, the easier it is to cut. Resist adding too many curves or fine details to your design for the best laser cut outcome.
- Use vector graphics for your design – The laser cutting machine reads vector graphics best. Since vector graphics are composed of mathematical equations, scaling the art can be easily be adjusted too.
- Leave a bit of room between your parts – Make sure to leave at least 5mm room between pieces in your design to give the laser room to cut correctly.
- Utilize the tools provided by your laser cutting machine – Some laser cutting machines come with a wide range of settings and tools to work with. Using the right settings for your design can help ensure the best laser cutting results.
- Test and measure your laser cut settings – Before beginning your project, it is always a good idea to test and measure the settings on a sample piece of material. This can help you determine the optimal power settings and avoid any unnecessary mistakes on the final product.

Troubleshooting
Common problems and solutions when using a table for laser cutting
When it comes to laser cutting with a table, it can be a tricky task. Whether you’re new to the works or just trying to get the hang of a new machine, there are always a few problems that can throw you off. Many of these issues are the same whether you’re using a table laser cutter or a desktop laser cutter.
Here are some of the more common problems and possible solutions that you may run into when laser cutting with a table.
Suggestions for inspecting the finished product
troubleshooting Inspecting the finished product of a laser cutting project is an important part of guaranteeing quality results. Depending on the kind of material you’re cutting, there are a variety of ways to determine if the cut job is satisfactory. First, when working with metal make sure that the edges of the part are clean and burr-free.
You may want to use a magnifying glass to check for any burrs or roughness in the edge that might cause problems further down the line. Second, make sure that the surface of the finished product is smooth and even.

Summary of the tips and tricks for laser cutting with a table
Laser cutting with a table is a great way to add texture, texture, and definition to any project. Using a table can be a great way to speed up the process, as the laser moves across the table at a much faster rate than a stand-up laser. With a few simple tricks and tips, one can easily master laser cutting with a table.
First, it is important to correctly position the material before cutting.
Conclusion
Conclusion In conclusion, laser cutting with a table can be an amazing tool for creative projects. With the right tips and tricks, you can make sure that your projects come out looking amazing. To start off, it is important to make sure that your table laser is correctly set up and that you have all the necessary safety gear.
Make sure to check your settings regularly to ensure that your material is being cut correctly and with the appropriate power and speed.

