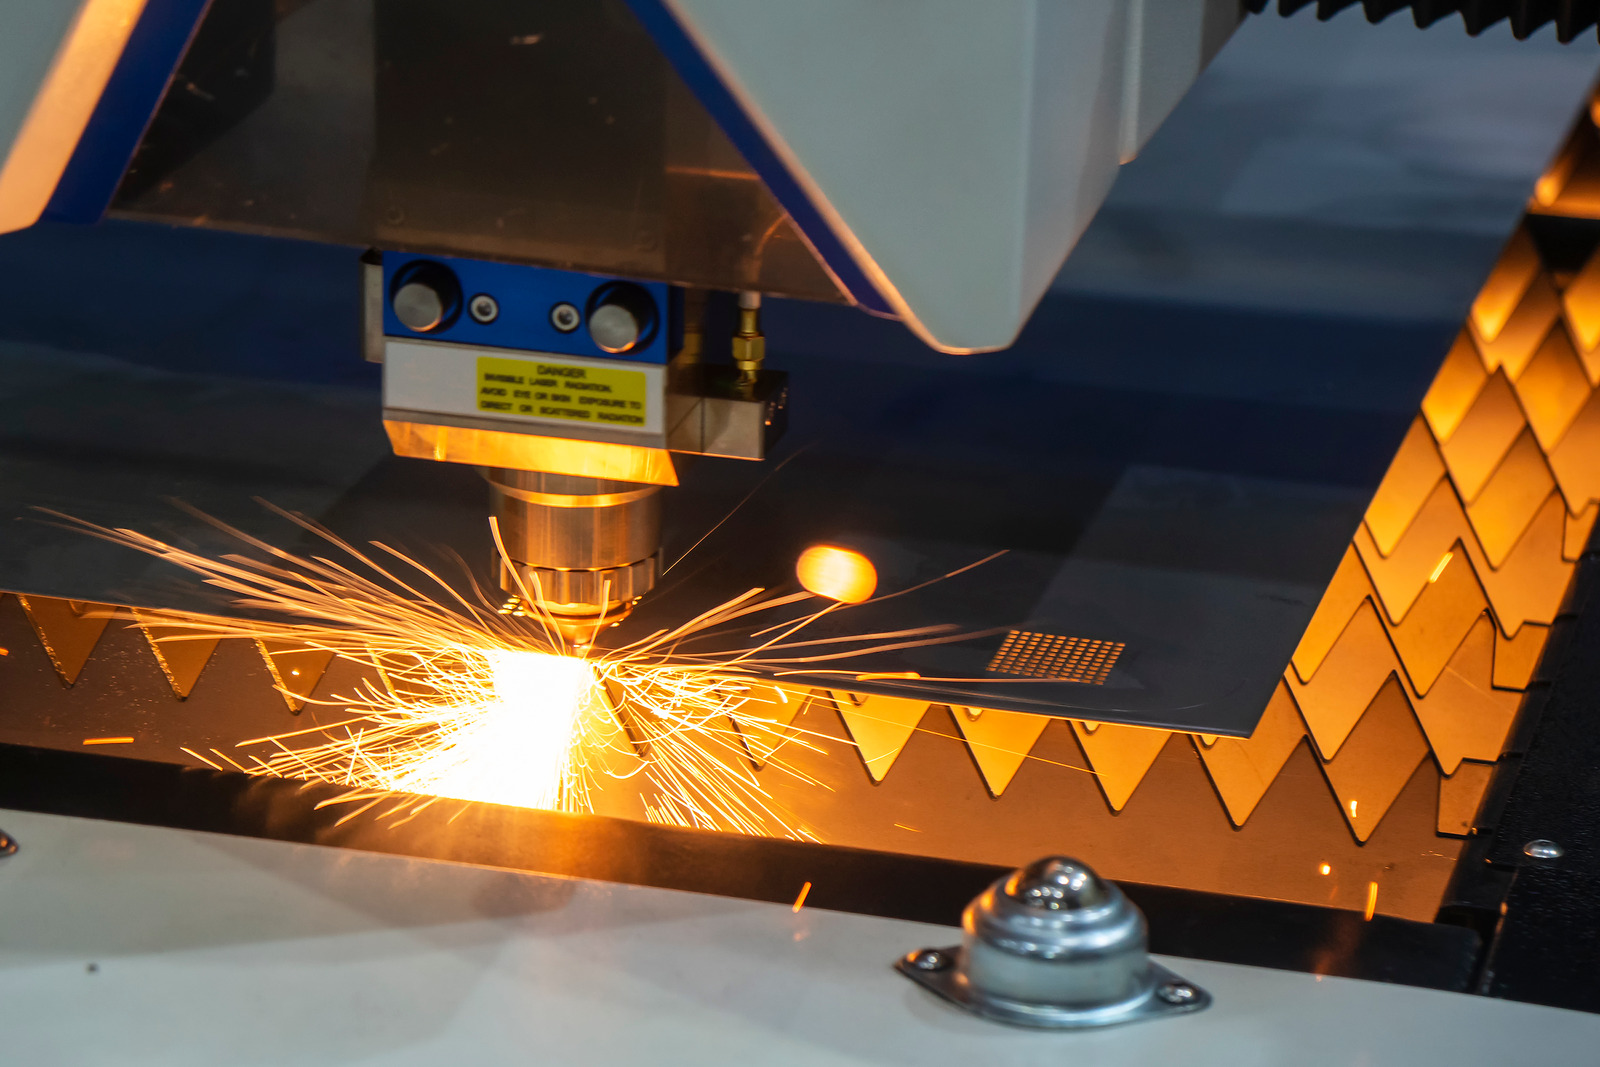
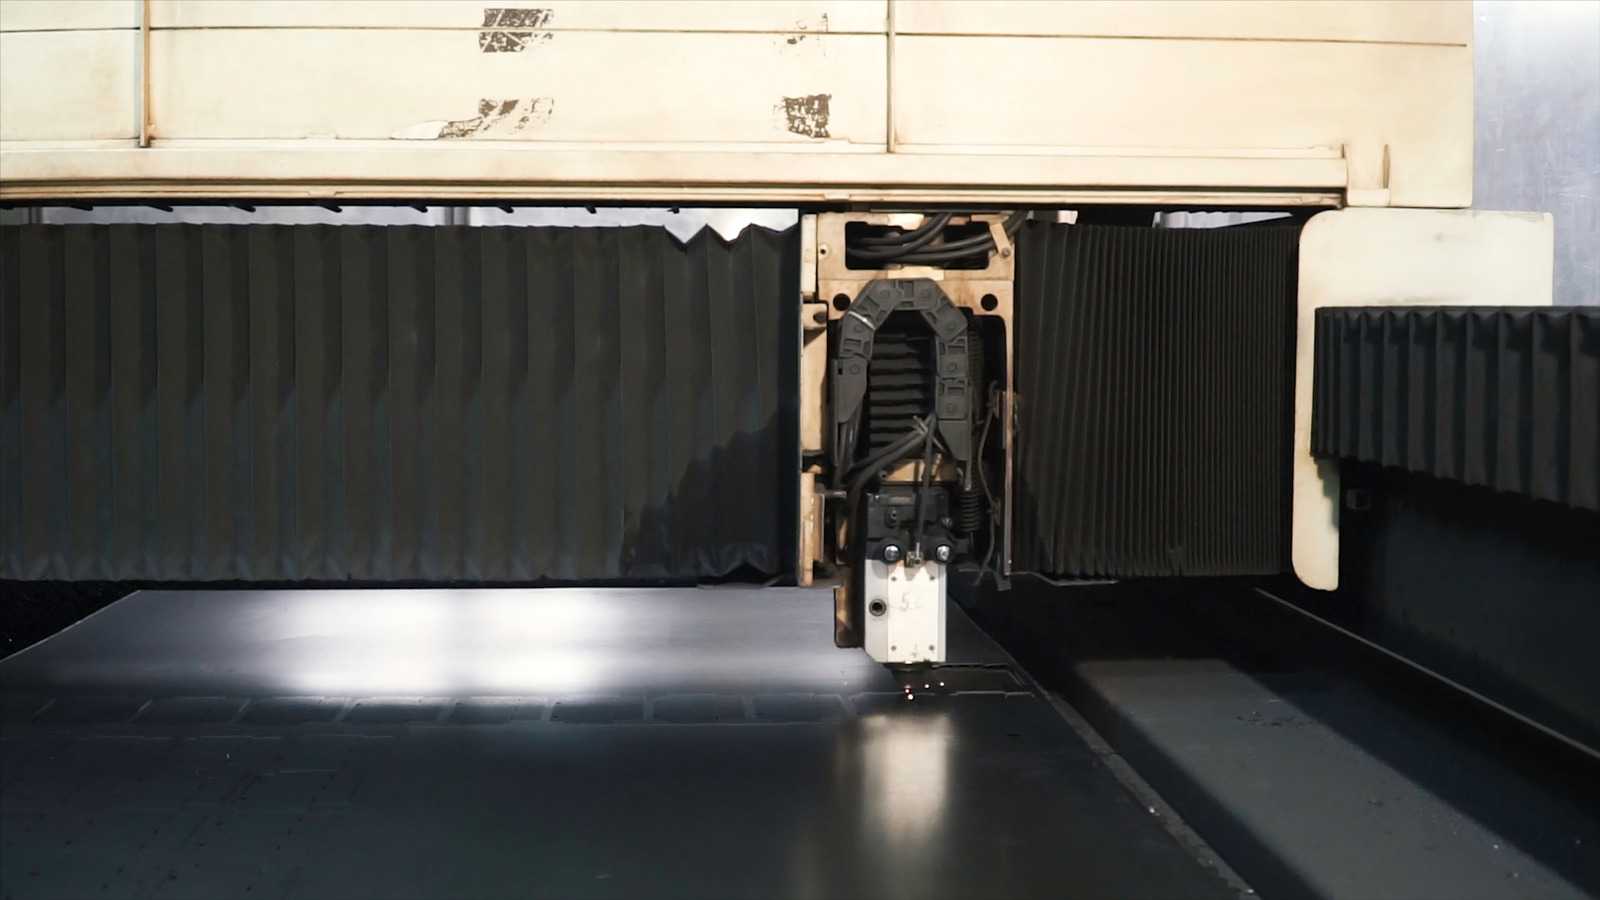
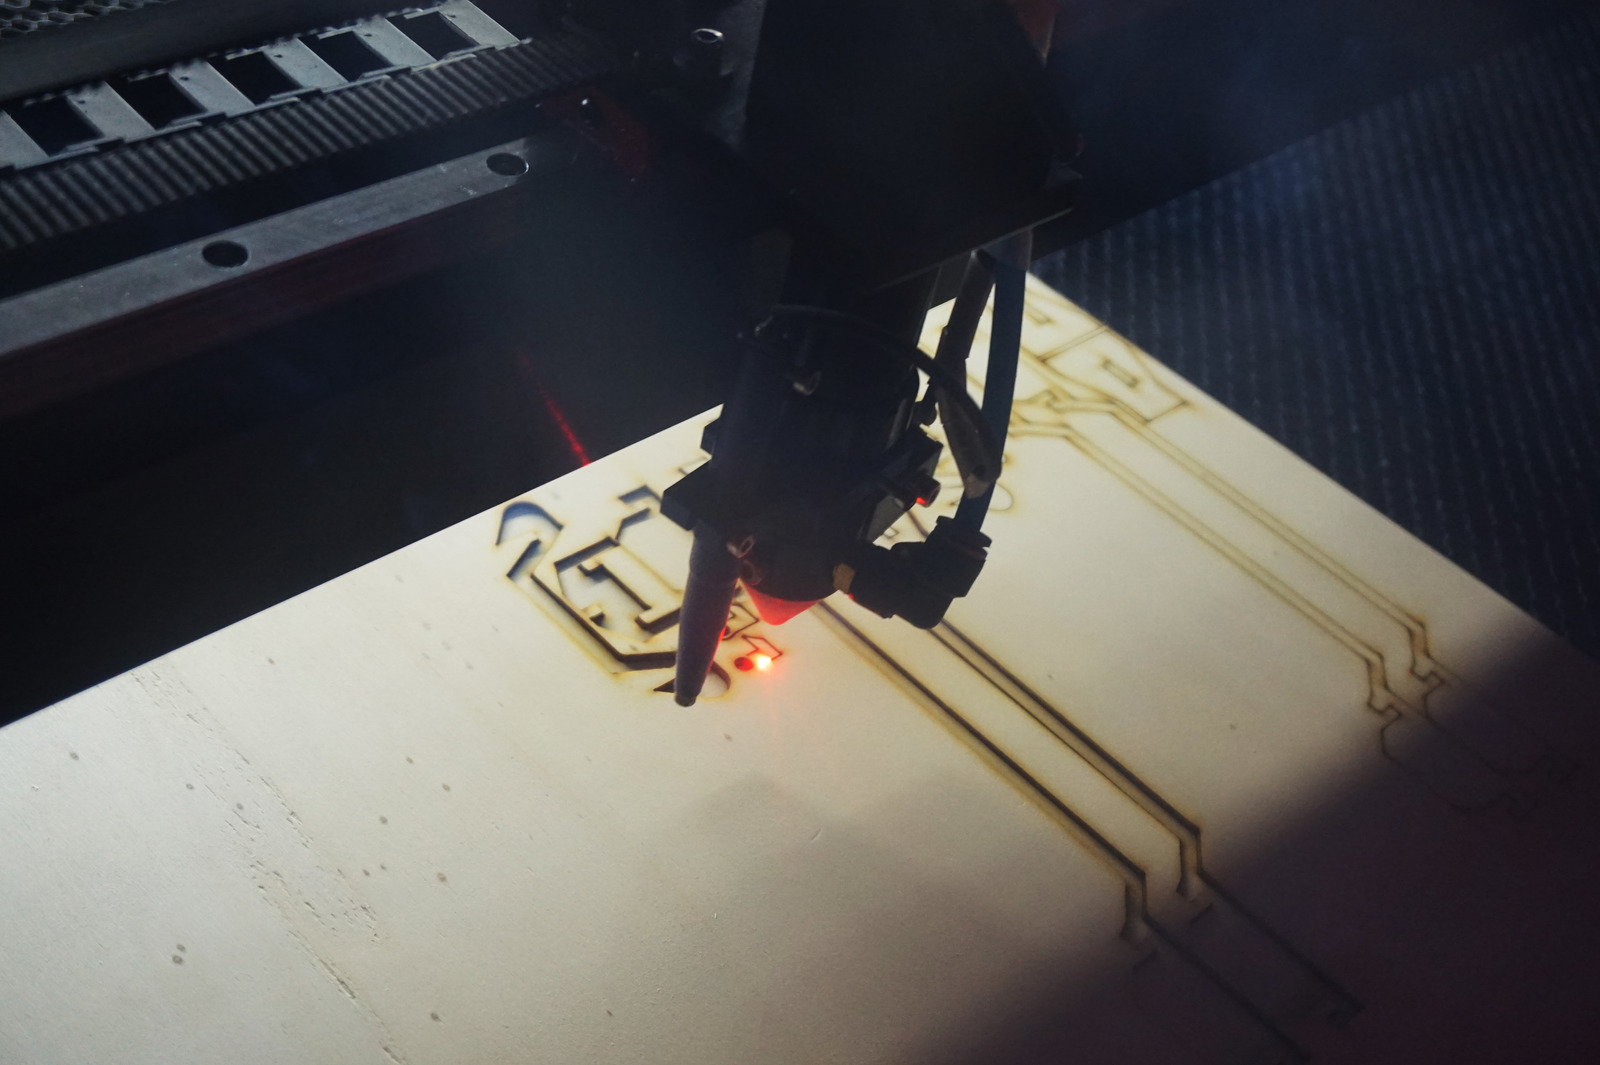
Welcome to an exploration of how you can use laser cutting to develop custom-made elevation designs. This method of design is widely used in architecture, interior design, product design and manufacturing. We will discuss the process of designing these elevations and the tools available to bring your vision to life. Laser cutting offers incredibly precise and intricate designs for virtually any type of elevation and this guide will help you understand how to make the most of this exciting technology. Let’s get started!
Benefits of Laser Cutting
Accuracy and Precision
Accuracy and precision are two of the biggest benefits of using laser cutters to design custom-made elevation designs. Laser cutters provide the exact measurements needed to ensure accuracy in the design, because they provide a level of control that is impossible to replicate with traditional cutting methods. For precision, laser cutters use high-powered lasers to precisely cut materials based on the exact specifications programmed into it.
This level of precision enables the creation of complex shapes and detailed designs that can’t be achieved with manual cutting methods.
Automation
Automation is an advantage of laser cutting that cannot be overstated. Automation is when machines or processes are programmed to perform routine tasks or operations with little or no human interaction or supervision. Laser cutters are specifically programmed to cut intricate and detailed designs with accuracy and precision.
This means that instead of having to manually trace and cut out intricate shapes and designs, a laser cutter can quickly and accurately execute the whole process in a fraction of the time and with much better results.
Time Savings
Laser cutting is a popular method for customizing a wide variety of materials due to its fast cutoff times. A laser cutter is able to quickly and precisely cut through wood, paper, metals, and other materials. It is a fast and accurate system that allows you to create very detailed and intricate designs.
Using a laser cutter can greatly speed up the design process, resulting in time savings when creating custom-made elevation designs. The ability to rapidly adjust a design based on existing measurements is a major benefit of laser cutting.
Common Materials Used
Metals
When it comes to laser cutting elevation designs, metal is a popular material to cut. Metal offers durability and design flexibility, allowing for intricate and precise carved designs. Depending on the scale of the project and the desired outcome, different types of sheet metal can be used.
Aluminum is a popular choice because of its low cost and availability, as well as its aesthetic appeal. Aluminum is lightweight, durable and offers a vast range of design possibilities. It also offers some versatility in the way it can be cut and manipulated.
Woods
When it comes to laser cutting designs, one of the most versatile materials used is wood. The array of potential projects and designs is practically endless, as wood can be found in many shapes and sizes, colors and grains. In addition, it can be either hard or soft, depending on the specific application of the laser cut design.
For laser cut designs that require a more cohesive design, harder woods such as cherry are often used. These woods are relatively easy to work with and can provide more intricate detail than softer woods. In contrast, softer woods will provide a more subtle effect, but also a smooth finish.
Plastics
Laser cutters are great tools for creating custom-made designs from a variety of materials. When it comes to elevation designs, plastic has become a go-to material for many projects. Plastics are incredibly versatile, light, and durable which makes them a great choice when it comes to laser cutting designs.
They come in many different thicknesses and colors, allowing designers to be creative and customize the look and feel of an object or structure.

How to Create Custom Designs
Identifying the Design Type
When it comes to custom-making designs using laser cutting, identifying the design type can make a big difference in the end result. Depending on the type of design you are looking to create, you will need to consider the type of laser cutter that best fits the project. Generally, there are two main types of laser cutters — CO2 and Fiber — and each type has its own advantages and limitations.
CO2 laser cutters are known for their speed and accuracy. They are used to create more intricate and detailed designs than other laser cutting technology.
Analyzing and Measuring
When it comes to creating custom-made elevation designs with laser cutting, a crucial part of the process is analyzing and measuring to ensure accuracy and precision. First, the laser cutter needs to properly calibrate to ensure that the laser is working and in line with the desired settings for the particular project. To start off, it is important to measure the surface that the design will be cut on and make sure that it has no bumps or uneven areas.
Developing the Design
When it comes to creating custom designs with a laser cutter, the development of the design is a crucial step. Before beginning any laser cutting it is important to make sure that the design you have created is appropriate for the tool you are using. Designs can be made with a variety of graphic software programs and transferred to your laser cutter manually or with a computer-aided software program.
CAD (Computer Aided Design) software such as Corel Draw and Adobe Illustrator are commonly used for laser cutter designs as they are compatible with laser cutting machines.
Prepping for the Laser Cutting Process
Cleaning Material
When it comes to custom-made elevation designs with laser cutting, prepping for the laser cutting process is one of the most important stages. To prepare for laser cutting, you must clean your material, which may include metal sheets, wood and other materials. Cleaning the material is essential for removing any contaminants such as resin, dust or dirt that may be present on the surface of the material.
To do this, you will need to use an industrial vacuum to ensure all of the contaminants are removed.
Selecting the Type of Laser
When it comes to selecting the type of laser cutting machine you should use to make your custom-made elevation designs, it’s important to research to find one that is right for your project. Different lasers are capable of producing different results, so the most important factor is to find one that meets your specific needs.
Preparing the Program
Setting the Scene: Custom-made Elevation Designs with Laser Cutting, Prepping for the Laser Cutting Process Preparing the Program The first step in laser cutting designs is to prepare the program. This involves creating a vector-based design file with the dimensions and features of the intended product, such as a computer-aided design (CAD) plan. From here, a software program will read the plans and use the laser cutter to cut the design.
The program should be set to cut the desired line and shape with speed, power and laser frequency set to the material being cut. The goal is to achieve a precise cut with minimal to no burn marks.
Executing the Laser Cut
Select Proper Settings
settings When it comes to executing laser cut designs, proper settings are key. From the machine’s speed and power settings to the material, precise settings must be established before starting a cut. The speed and power settings depend on several factors, such as the material, size, and complexity of the project.
The machine’s speed is measured in inches per second, and it affects the overall cutting time. The power setting is measured in watts and it determines the depth and quality of the cut. If the power is set too high, it could cause the material to burn or warp.
Conversely, if the power is too low, the cut may not be deep enough or precise.
Start Laser Cutting
When it comes to setting the scene in custom elevation designs, one of the most important steps is to start laser cutting. Laser cutting is a widely used method in the design world, offering a way to quickly, easily, and precisely cut designs. Using a computer numerical control (CNC) laser cutter, you can feed in an image of your design and set the machine to cut it step by step in exact increments.
Evaluate Quality and Finalize
When it comes to creating custom-made designs using laser cutting technology, the final step in the process is to evaluate the quality and finalize the project. After the materials have been prepared and the designs have been uploaded, a laser cutter is used to cut and engrave the design components. The complexity, accuracy, speed, and finesse of a laser cutter depend on the quality of the machine and the drive of the operator.
Once the cutting is complete, it’s time to evaluate the results of the laser cutting process.

Conclusion
Benefits of Elevation Designs with Laser Cutting
The benefits of laser cutting designs with laser cutters are numerous. The precision and accuracy of laser cutters make them the perfect tool for creating intricate and precise elevation designs tailored to a specific space. The high-precision accuracy of laser cutters also ensures that designs created with them are perfectly suited to the architectural details of the space they’re designed for.
This makes it easier to create bespoke elevation designs that fit within a particular aesthetic or design. Customers also benefit from the speed of laser cutters.
Review of Steps Involved
When it comes to creating custom-made elevation designs with laser cutting, the process starts with having a design in mind or on paper. This design can either be simple or complicated, depending on what is desired. Next, the design will be sent to a laser cutter, which is a machine that uses a laser beam to cut and engrave materials.
This machine will then cut the design into the specified material.
Best Practices for Quality Design and Output
When it comes to custom-made elevation designs with laser cutting, it’s important to understand the best practices for quality design and output. Laser cutters can provide a versatile way of bringing your designs to life, but getting the best out of it requires great attention to detail. The first step is to ensure you’re using high-resolution design software with the correct settings.

