How to Fix Your Laser Cutting MDF Problems
Laser cutting is a fantastic technology, but let’s be honest—it’s not all rainbows and butterflies. If you’ve ever gazed at a perfect design only to have it ruined by inconsistent cuts in MDF (Medium-Density Fiberboard), you know the pain! It’s like when you leave the barber a little too excited and end up with a haircut that could be featured in a horror movie. Today, let’s dive into these common issues and uncover the troubleshooting steps you need to take to achieve those crisp cuts you so desperately desire.
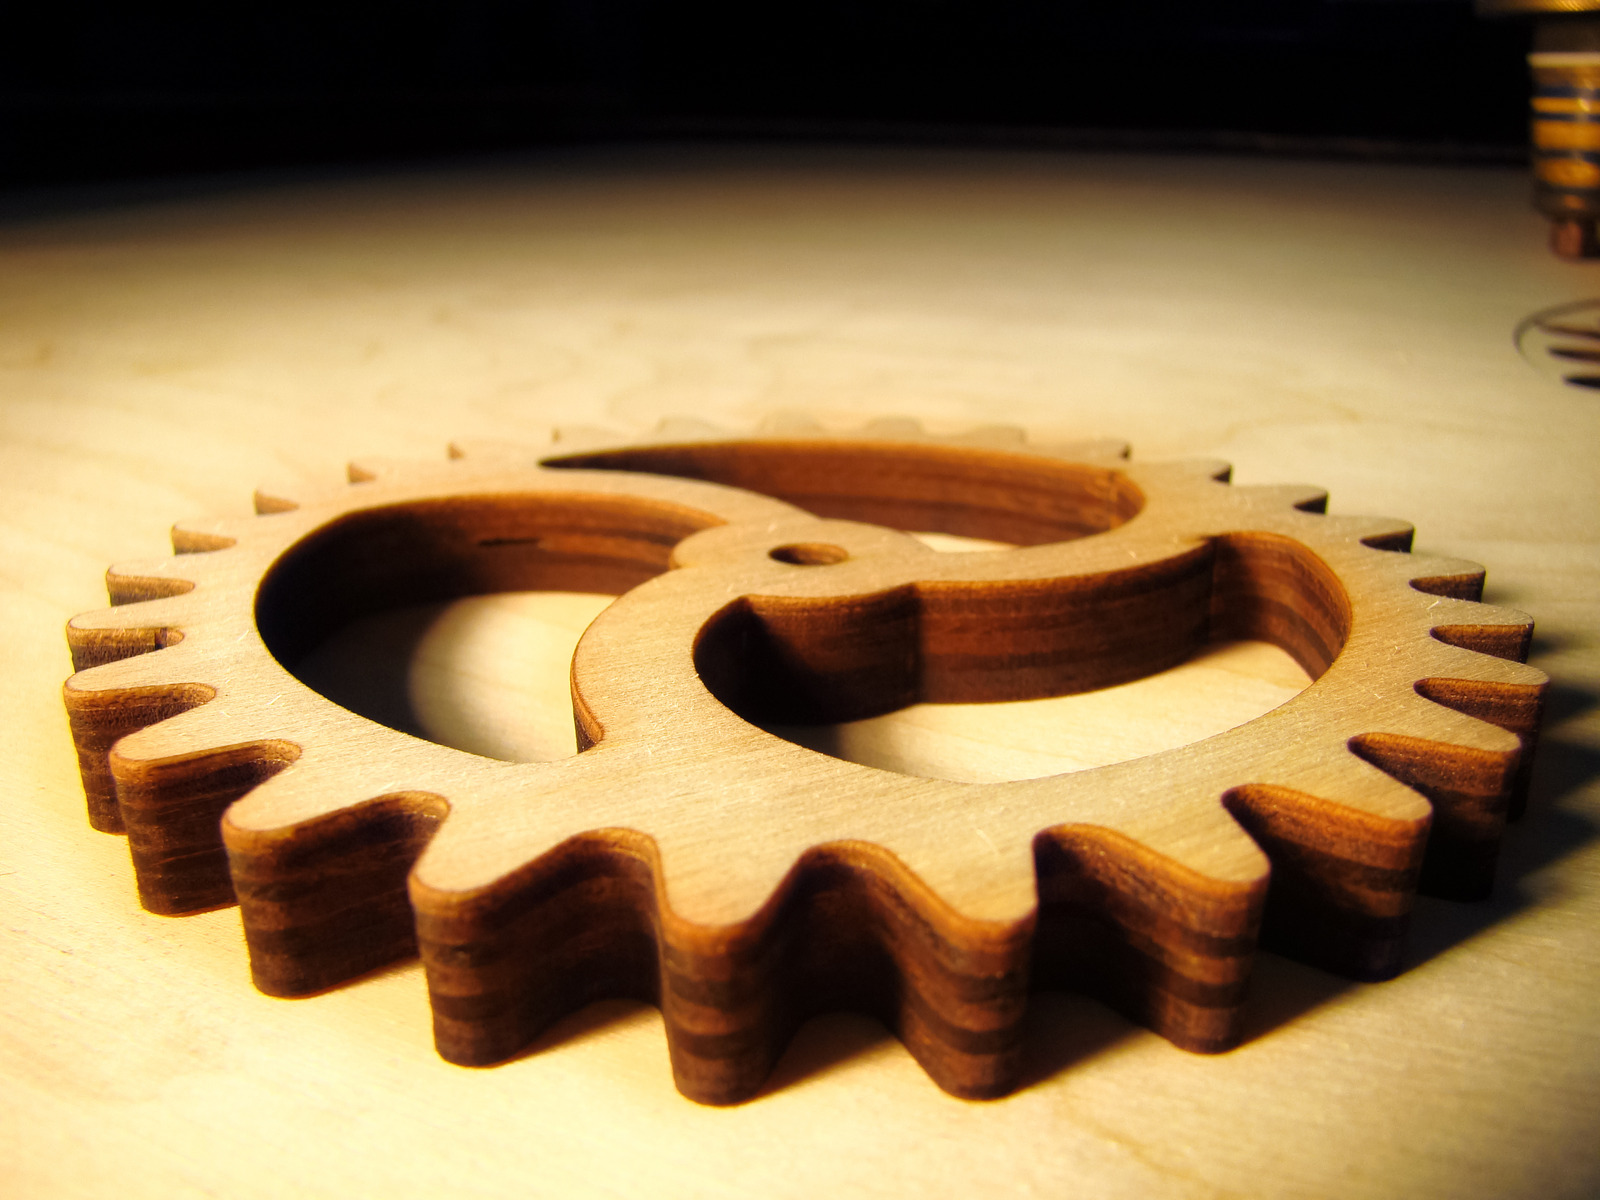
Understanding the MDF Dilemma
MDF is a go-to material for laser cutting enthusiasts due to its smooth finish and uniform texture. However, the very qualities that make it appealing also contribute to those frustrating inconsistencies.
Interestingly, when the average user mentions a laser spot of about 4-5mm instead of a precise 1-2mm, it points to possible alignment issues and hints that the laser itself might just be taking a vacation during critical moments. Overall, various factors lead to confusion that many hobbyists, like us, have encountered. In fact, multiple users have reported failure rates soaring to 30-40% when using cheaper MDF, indicating that material quality is crucial not only in the way it looks but in how efficiently it cuts.
Equipment Check: Beam Alignment and Focus
Ensuring your laser cutter is perfectly aligned can drastically improve your results. Think of it as making sure your GPS is set correctly before heading on a road trip—without correct alignment, you may find yourself taking a few unexpected detours. Recent discussions have hinted at mirror alignment as a critical component in honeycomb fanatics; checking your mirrors might lead to discovering crucial issues that could save your cuts. Additionally, your lens’s focus length plays a vital role—after all, without the right focus, you might as well be trying to watch a 4K movie on a 480p screen. For best results, aim to measure the distance between the lens and the MDF surface for perfect focus, as even a deviation of a few millimeters can lead to inconsistencies.
Material Quality Matters

The quality of the MDF you choose can significantly influence your cutting experience. It may pay off to stick with high-grade materials—one forum user shared insights regarding the importance of quality over cost and warned against using cheap plywood. Their failure rate with inferior materials skyrocketed to 30%, while switching to premium-grade MDF minimized those disappointments. They noted that switching materials didn’t just improve cuts; it also reduced the clean-up time by eliminating excess sawdust mess—talk about a win-win! Choosing the right material is akin to investing in a quality smartphone; you might save a few bucks up front but don’t come crying to me when it dies on you unexpectedly!
Adjusting Power and Speed Settings
Sometimes, it boils down to fine-tuning those power and speed settings to achieve better results. Countless users have found that adjusting their settings often requires multiple passes at higher speeds. One passionate creator mentioned achieving better output after making fifteen cuts through birch plywood at 79% power and 1800 mm/min—it’s a real testament that experimentation can lead to victory! And let’s be real here—if you’re not willing to roll up your sleeves and test various settings, can you even call yourself a laser-cutting enthusiast? That’s right! One user on a forum successfully used a constant power mode, allowing for consistent power even in tricky cuts and ensuring materials were properly penetrated during complex designs.
Cleanliness: A Simple Yet Overlooked Factor
Surprisingly, cleanliness can make or break your cutting quality. Users have pointed out that a dirty cutting area can scatter the laser beam, leading to dubious results. Imagine trying to eat your favorite meal while wearing a blindfold; that’s what a dirty cutter executing your designs feels like! Some have reported that cleaning the honeycomb platform can result in a cut quality improvement of up to 15%. Regularly check and maintain your cutting table to give your designs a fighting chance at that clean cut you crave.
The Role of the Power Supply System
Your laser cutter’s power supply is like the spaghetti sauce to your pasta—without it, the whole operation tends to fall flat. If the power supply isn’t performing optimally, fluctuations in laser power could lead to those nasty inconsistent cuts. To spice things up, it’s smart to check the voltage output to make sure it matches manufacturer specifications. While troubleshooting, a user suspected their power supply might be faulty after just 315 hours of usage, leading to chats about measuring output at different settings. To get started:
- Check the Voltage Output: Make sure it matches manufacturer specifications.
- Inspect for Overheating: A little heat is normal, but excessive heat could indicate a problem.
- Verify Current Draw: Adjustments might be necessary to ensure optimal operation without exceeding maximum draw levels; some have suggested measuring at 50% PWM to see higher current draws.
Additional Tips for Success
- Utilize Autofocus Features: Modern laser cutters come with nifty autofocus features that save time and help avoid undercuts. Consider it your robotic assistant!
- Upgrade Your Laser: Continuous struggles with entry-level lasers? It might be time to invest in a powerful CO2 laser for better results on thicker materials.
- Stay Safe: Remember to adhere to safety practices; wearing goggles and ensuring a clutter-free workspace can sidestep potential disasters.
Laser Cutting Edge: Optimizing Speed and Power Instantly
Next up, let’s discuss the relationship between speed and power when it comes to laser cutting—it’s critical to find that sweet spot. Remember that higher power settings generally allow for faster speeds. You can go for that quick cut, but at what risk? Going too fast may cause you to lose precision, somewhat like trying to drive left-handed when you’re right-handed. Where you set your speed also impacts the cut quality and material integrity. For anyone unraveling the mystery of inconsistent MDF cuts, be prepared—it’s essential to keep tweaking these parameters until you find what works best for your specific machine and material. As a rule of thumb, if you’re cutting thinner MDF, a speed of 1000 mm/min and corresponding power settings below 50% have often yielded splendid results, while thicker materials may require a more methodical approach.
Conclusion
Inconsistent cuts in MDF don’t have to be the bane of your laser cutting adventures. By being proactive with equipment maintenance, adjusting settings, ensuring material quality, and maintaining cleanliness, we can all achieve those crisp cuts we desire. Let’s avoid messy accidents, enjoy the laser cutting experience, and leave no room for fashion faux pas in our designs! For more on laser cutting techniques, check out these engaging reads on materials compatible with laser engraving here and tips for novice laser engravers here. Happy cutting!