Engraving slate coasters can be a delightful and fulfilling project, allowing you to unleash your creativity while crafting personalized gifts or home decor. With the right tools and guidance, you can transform raw slate into stunning, engraved pieces that showcase your designs. This article will guide you through the step-by-step process of engraving slate coasters, highlighting the essential tools, settings, and safety measures needed for a successful project.
Selecting Your Tools
Laser Engravers
To begin your journey into slate coaster engraving, you’ll need a reliable laser engraver. The xTool range offers versatile options like the xTool S1 diode laser and the xTool P2 CO2 laser, both praised for their precision and performance in engraving various materials, including slate. The xTool S1 is ideal for DIY enthusiasts and hobbyists, while the xTool P2 is better suited for small businesses, providing more power and capabilities. For a more portable option, the LaserPecker 4 diode laser is also an excellent choice, especially for home use.
Additional Equipment
Along with your laser engraver, you will require:
– Design software: Tools like AIMake and DesignFind can help you select and create your designs efficiently. These programs offer material libraries and customization options that streamline the engraving process.
– Safety gear: Essential items include laser goggles, and it’s advisable to have a mask or air purifier to protect against smoke and gases generated during engraving. Ensure your equipment is Class 1 safe to minimize risks.
The Five-Step Engraving Process
Engraving slate coasters involves careful preparation and attention to detail to achieve the best results. Here’s a simple five-step guide you can follow:
Step 1: Design Creation
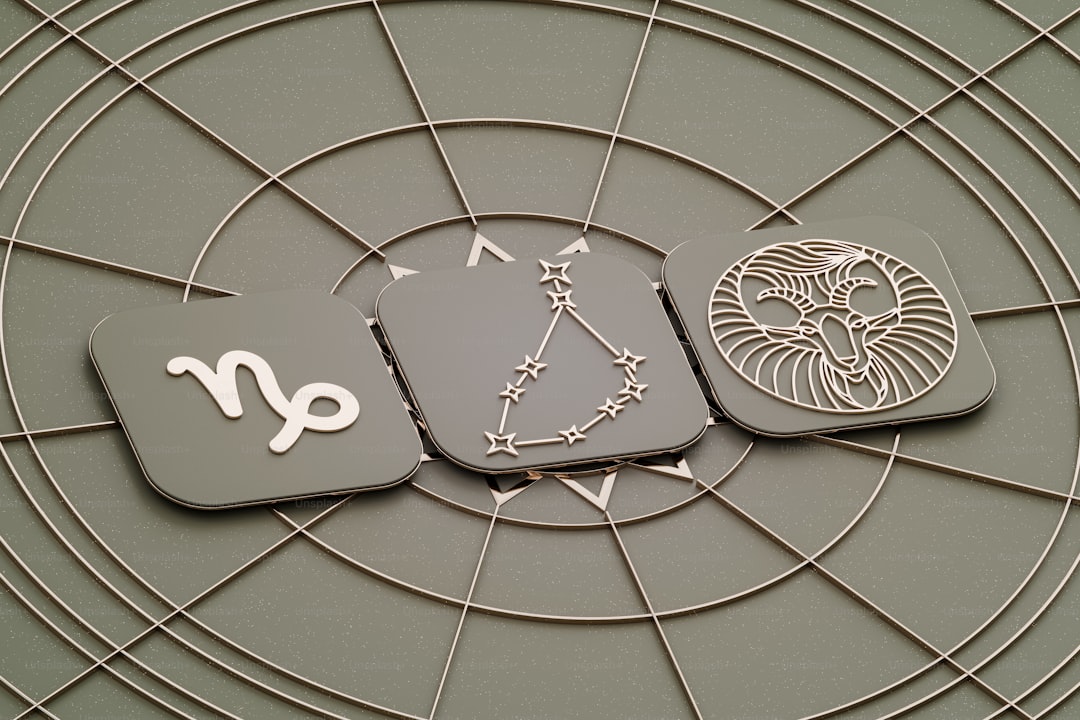
Choose your design, keeping it simple for beginners. Using SVG files can streamline the process, as one-layer designs are generally easier to handle. Create your designs using xTool’s Creative Space software or any compatible graphic design application. Incorporating elements like personal quotes or nature-inspired motifs can make your coasters more meaningful.
Step 2: Machine Setup
Once you have your design ready, it’s time to set up your laser engraver:
– Place your slate coaster securely on the engraving bed.
– Measure the thickness of the slate to adjust your laser settings accordingly.
– Align the design horizontally for precise placement.
Step 3: Adjusting Settings
Proper settings are crucial for effective engraving. Here’s what you need to check:
– Power: Controls the intensity of the laser beam.
– Speed: Determines how fast the laser moves across the material.
– Resolution: Affects the quality of the engraving.
Each material may require different settings—select “Rock Coaster” for slate to optimize your results. For instance, using a speed of 10000 mm/min and a power setting of 40% can yield great results with a 50-watt machine, ensuring that the slate doesn’t discolor.
Enhancing Your Coasters
Once engraving is complete, consider additional finishing touches to elevate your coasters:
– Sealing wooden coasters helps protect them from water damage while enhancing their longevity.
– You can also add a protective finish to your slate to enhance durability and aesthetics. Using an oil finish like 3-in-1 oil can also enhance contrast and protection after engraving.
Community and Support
Getting involved with communities like the xTool forums can provide further guidance and inspiration. Whether you have questions or want to share your projects, connecting with others passionate about laser engraving can enhance your learning experience. Engaging with fellow creators allows for the exchange of tips and tricks, fostering a supportive environment for your creative journey.
Optimizing Your Engraving Settings
Experimentation is key when it comes to achieving the best results in engraving. The optimal settings can vary based on the type of design you’re engraving—be it text, images, or patterns. For raster engraving (photo replication), using high DPI with 250 mm/sec speed at 60% power can lead to delightful outcomes. It’s essential to conduct test runs on scrap pieces before working on your final coasters to dial in the settings correctly. For more intricate designs, consider oversizing the artwork slightly to improve the aesthetic appeal.
Technical Considerations
Understanding the technical aspects of your machine can significantly improve your engraving results. For both vector and raster engraving, adjusting the resolution (DPI) and ensuring your software setup is correct will make a notable difference. Programs like LightBurn allow for excellent customization and are worth exploring.
Common Problems and Troubleshooting
As with any process, issues may arise during your engraving projects. Here are some common problems and their solutions:
| Problem | Solution |
|---|---|
| Inconsistent engraving depth | Adjust power and speed settings, ensuring proper focus. |
| Burn marks | Check ventilation and quality of the material, adjusting settings as needed. |
| Misalignment during engraving | Ensure your material is securely placed and your machine settings are calibrated. |
| Blurry or unclear engravings | Clean the lens and check the focus. |
| Design not engraving as expected | Review design software settings and test with similar material scraps. |
Conclusion
Engraving slate coasters is not just a creative outlet; it’s an empowering journey into self-expression through art. With tools like the xTool M1, S1, and P2, you have the capability to create captivating designs that resonate with your personal style. Remember to prioritize safety, experiment with designs, and most importantly, enjoy the process!